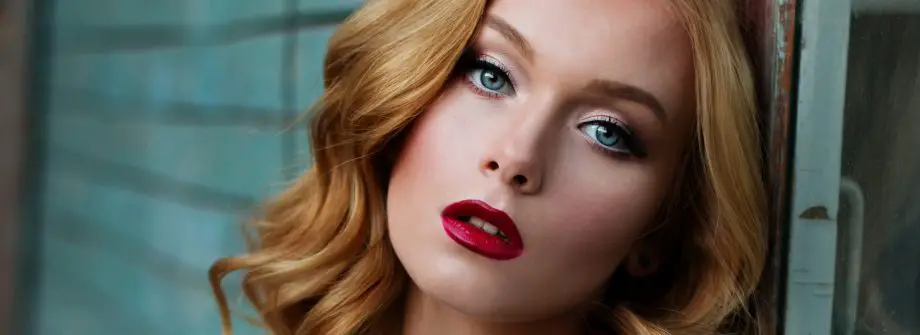
Having a naturally straight hair is great but it can be tricky to get it into a more curly style, especially if you don’t want to use heat. Using a heat curling iron is easy but it can also be damaging and risky. So, how to get heatless curls and heatless waves that look natural?
There are many DIY heatless curls methods out there, some easier, some more complicated, but all can give you a nice and effective result if you perform them well enough.
Pin curls
To start you’d want to slightly dampen your hair and straighten it out with a brush or a comb, detangling every hair strand while doing so. After that, add some styling lotion and isolate the first strand of hair you’d want to start with. Make it as wide as you want but the average is usually 1 inch or 2.5 cm. Once you’ve got your preferred width, start wrapping the hair around your index finger – wrap it upwards for bouncier curls or downwards for more voluminous waves. Make sure that you wrap it neither too tightly nor too loosely.
After 2-3 wraps, remove your finger and keep wrapping the curl onto itself. Be careful not to twist it or it will become frizzy – roll slowly and patiently, you need this to be effective, not quick and ugly.
Once you’ve gotten the curl all the way to the top of your head simply pin it against your scalp and repeat the whole procedure with the rest of your hair. It will take time but that’s the price that needs to be paid for cool and heatless wavy hair.
Let your hair dry up naturally without a hair drier and then gently remove the pins one by one.
Wet-set cold hair rollers
Get cold rollers that are a bit smaller than the curls you want to end up with. For a more natural look, it’s best to use different roller sizes for different curls. Then, dampen, straighten, and detangle your hair and section a small strand you’ll start with – usually somewhere between one and two inches. Hold the hair strand upwards and place the roller horizontally against its end. Then, simply roll the hair around the roller until you reach your scalp and secure the roller with its clip.
Repeat this process with the rest of your hair until it’s all rolled up against your scalp. Then, simply let it dry off naturally and remove the rollers one by one.
If you don’t have cold hair rollers and you don’t want to buy them, you can try the same process with paper towels for a nice set of paper towel curls. To do this, simply curl the damp and straightened strands of hair onto a piece of paper towel and use its ends to secure it in place once the curl has reached your scalp.
Put your hair in a bun
As always, wash, condition, straighten and detangle your hair. Let it dry off a little bit but not completely – you want it to be damp, not dripping wet. If your hair was clean and brushed, to begin with, you can simply dampen it with a water bottle sprayer.
After that, it’s time to bun up – pull your hair back in a ponytail and fasten it with a hair tie. Twist the ponytail two or three times and wrap it around the hair tie to shape it into a bun. Then simply secure the bun with bobby pins or with another elastic hair tie.
Alternatively, if you’re curious how to curl your hair with socks you can make a donut bun. Just cut the toes off of a sock and roll it into a donut shape. Next, place the end of your ponytail through the hole of the sock and spread the end of your hair until they cover the whole sock, tucking them underneath it. After that just roll the sock up to your scalp with your hair along with it and secure it with bobby pins – the result will be similar to that of a standard bun.
If you want tighter waves you can also make two separate buns. Then, just leave the bun(s) on for a while until your hair dries out and a bit more after that. You can simply sleep with it and remove the bun in the morning and you should have a nice set of curly hair. You can also use some hair spray to further set the waves if you want.
A headband
The curly hair headband method is also quite effective. To start, dampen, straighten, and detangle your hair as usual. Then, just place a standard elastic band over your head – it should be over your hair and not underneath it, and it should also go from low over your forehead to the back of your head. Your curls will start from the headband so adjust it based on your preferences.
From here, simply take a section of your hair that’s as wide as you want the curls to be and start looping it around the headband. Roll it on top of itself as you want to conserve the space on the headband and not tangle the curls with each other. Once you’ve looped the entire strand of hair, simply lock it in place with a bobby pin and move on to the next strand of hair.
After you’ve repeated the whole process with all of your hair you should end up with- a cool-looking, romantic and slightly hippie-ish hairstyle. Then, just allow your hair enough time to dry naturally while on the headband and remove it carefully afterward.

